Botomatic-Cloud: User Manual
1. Log in, Log out and Change Password
You can log in using your email and password via button on top right.
You also can log out using button on top right.
You can change your password using the button on the top right – make sure that you use a password that is hard to hack.
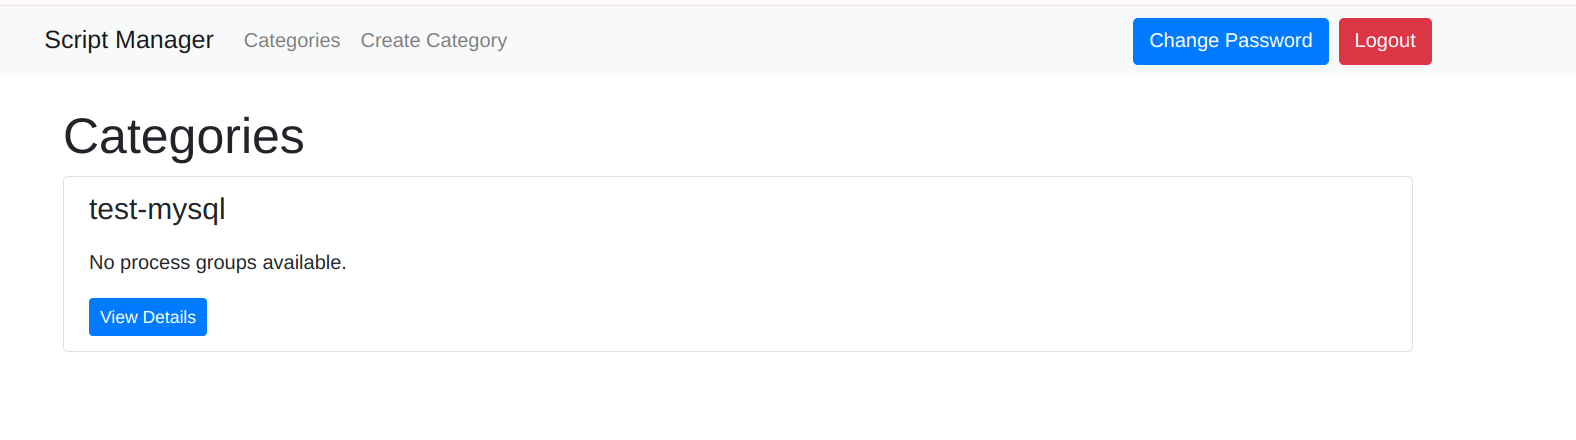
Image 1.1 – Change password and logout buttons
2. Categories
You can navigate to your categories list using “Categories” button and go to create category page using “Create Category” button on previous screenshot
Here is an example of how you can create a category (description is optional):
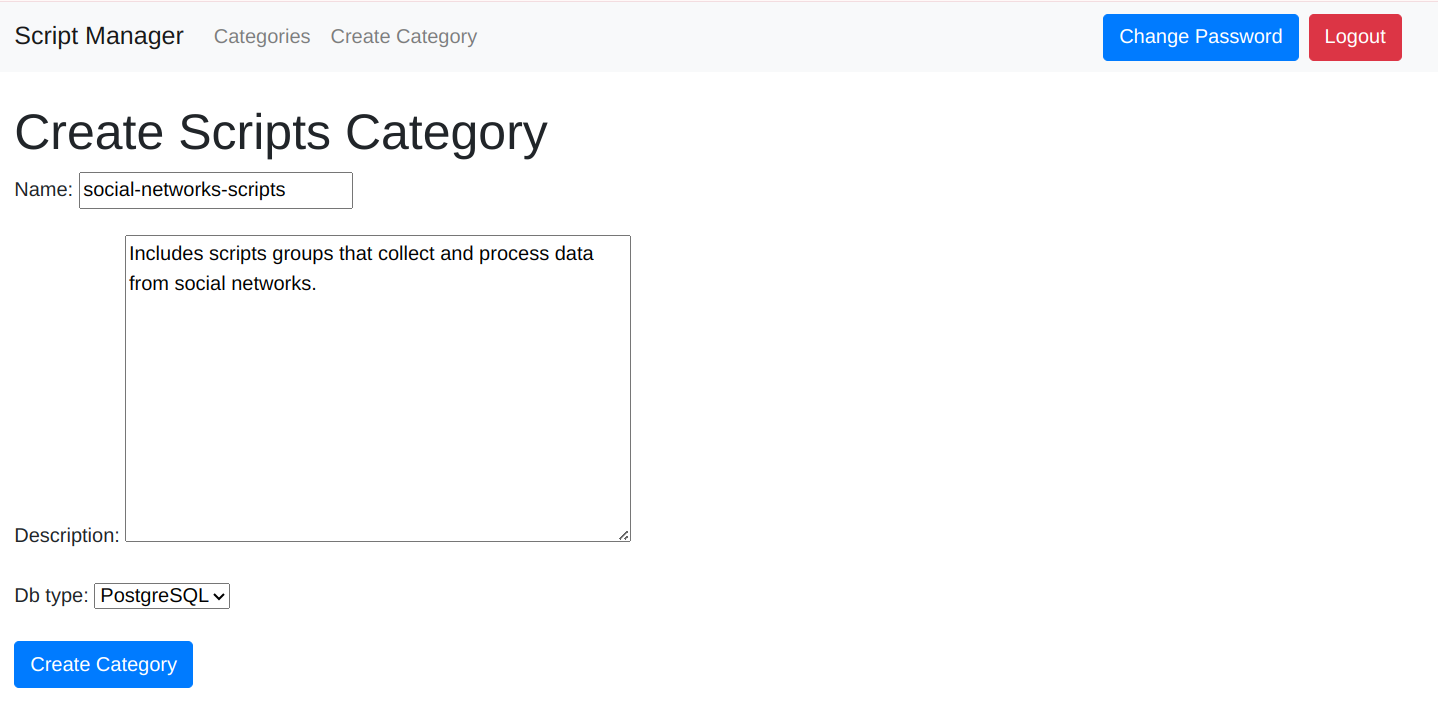
Image 2.1 – Create category page with sample data
3. Script Groups
If you click “View details” on one of the categories in your categories list, you will see a page that contains all script groups created for that category.

Image 3.1 – Category groups list
You can use the “Delete Category” button if you want to delete this category and all data related to it. Also, you can use the “Create New Script Group” button, which will lead you to the page shown on the screenshot below:
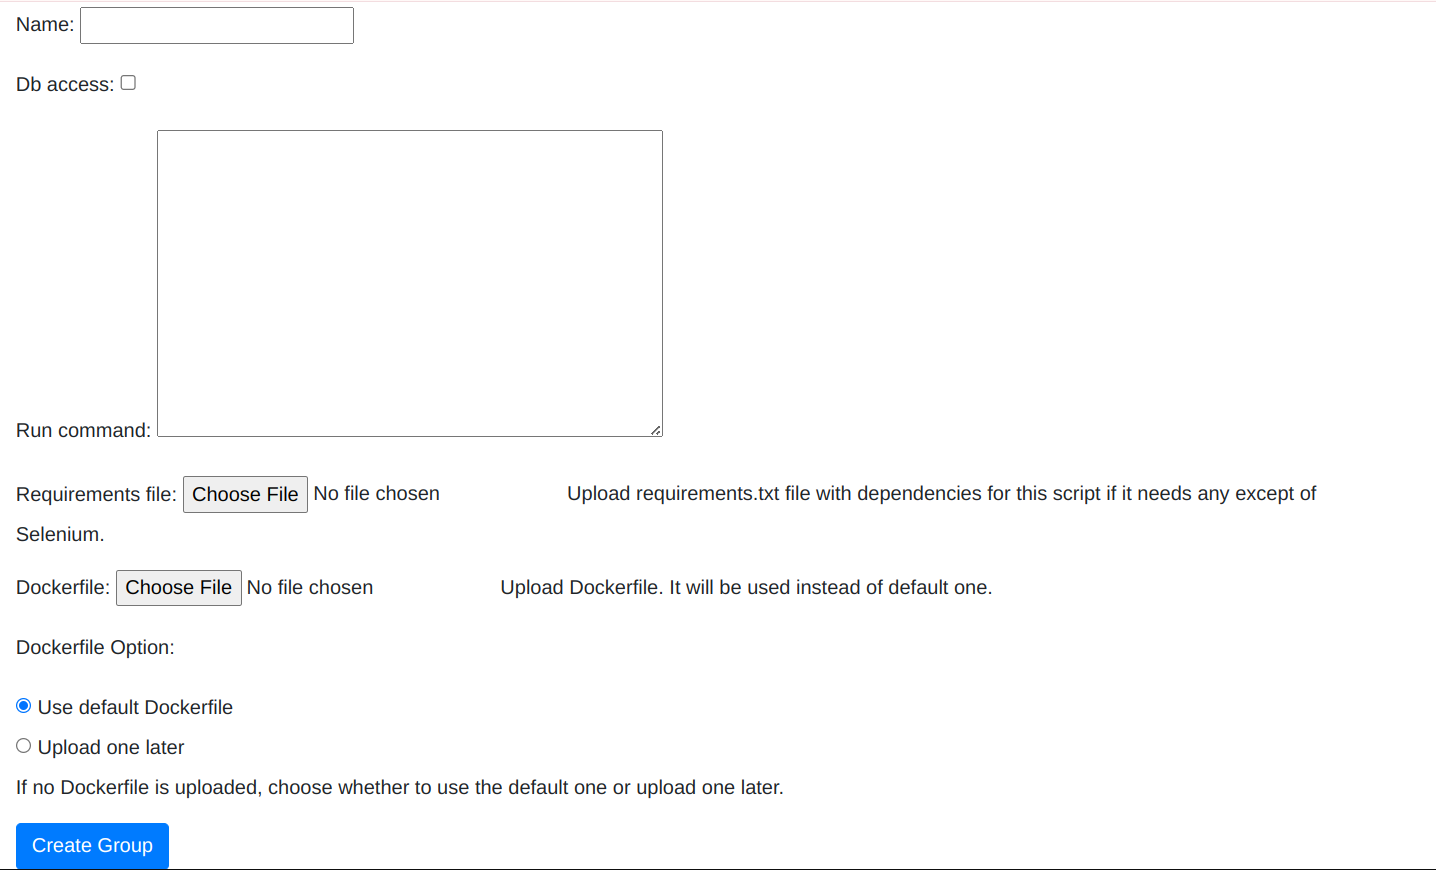
Image 3.2 – Create script group page
You can use whatever name you like, but make sure that it will allow you to easily recognize what that group is for.
Check “Db access” if scripts in this group need access to the category database.
Provide a run command if your script runs using a command different from pytest /app/scripts/{script_file_name} --browser=chrome –headless.
Upload requirements.txt and a dockerfile if scripts have some dependencies that differ from seleniumbase. You can upload the dockerfile later by choosing “Dockerfile Option” “Upload one later”.
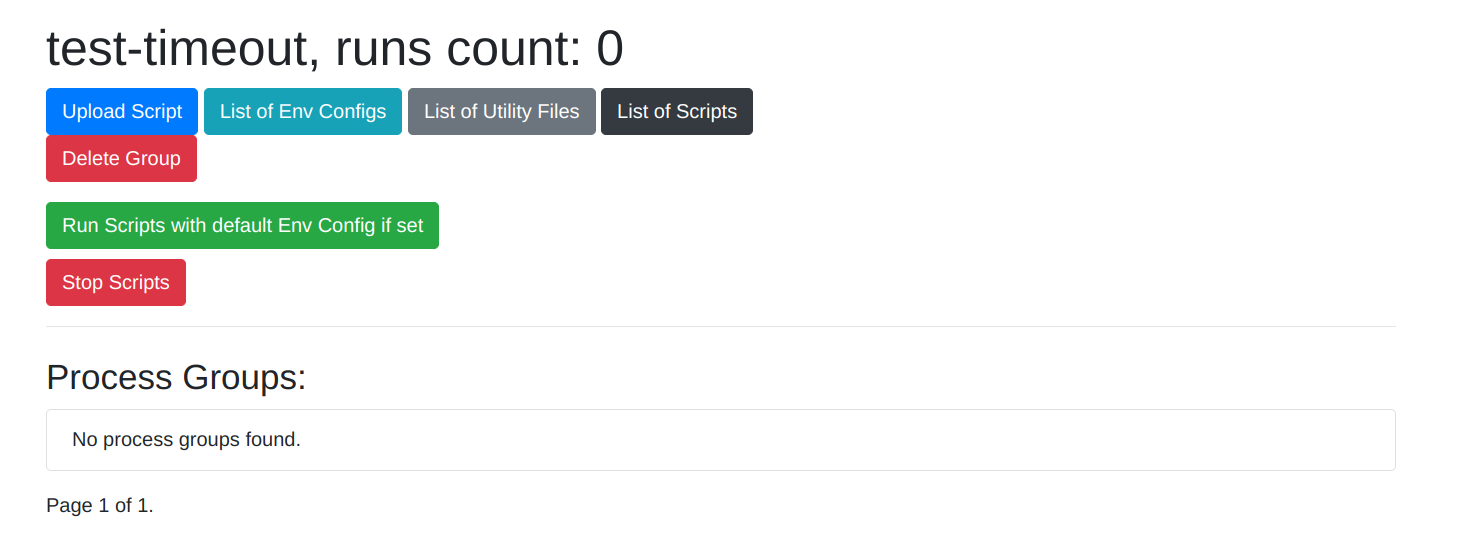
Image 3.3 – scripts group detail page
On image 3.3 you can see scripts group detail page, there you have all functionality related to scripts upload and execution.
Use “Upload Script” button for script download, you can find detailed instructions below.
Use “List of Env Configs” button to see list of environment settings sets. You can run scripts group using each of settings sets. You can find detailed instructions below.
Use “List of Utility Files” button to see list of utility files. Utility file, is a python file that is not a selenium script, but contains code that is used in uploaded scripts. You can find detailed instructions below.
Use “List of scripts” button to see already uploaded selenium scripts for current scripts group.
Use “Delete Group” button if you want to remove group and all related data. You can’t remove scripts group while it’s being executed.
Use “Run Scripts with default env config if set” – starts scripts group execution using env settings config that is set as main or without providing env variables for scripts. Make sure that you have main env config with variables set for scripts group if your scripts depend on environment variables.
Use “Stop scripts” button to stop current scripts execution. If there is pending scripts execution process group, it will still be executed, so make sure to stop it too if you want to stop all executions for this group
Below all this buttons you will be able to see scripts executions results.
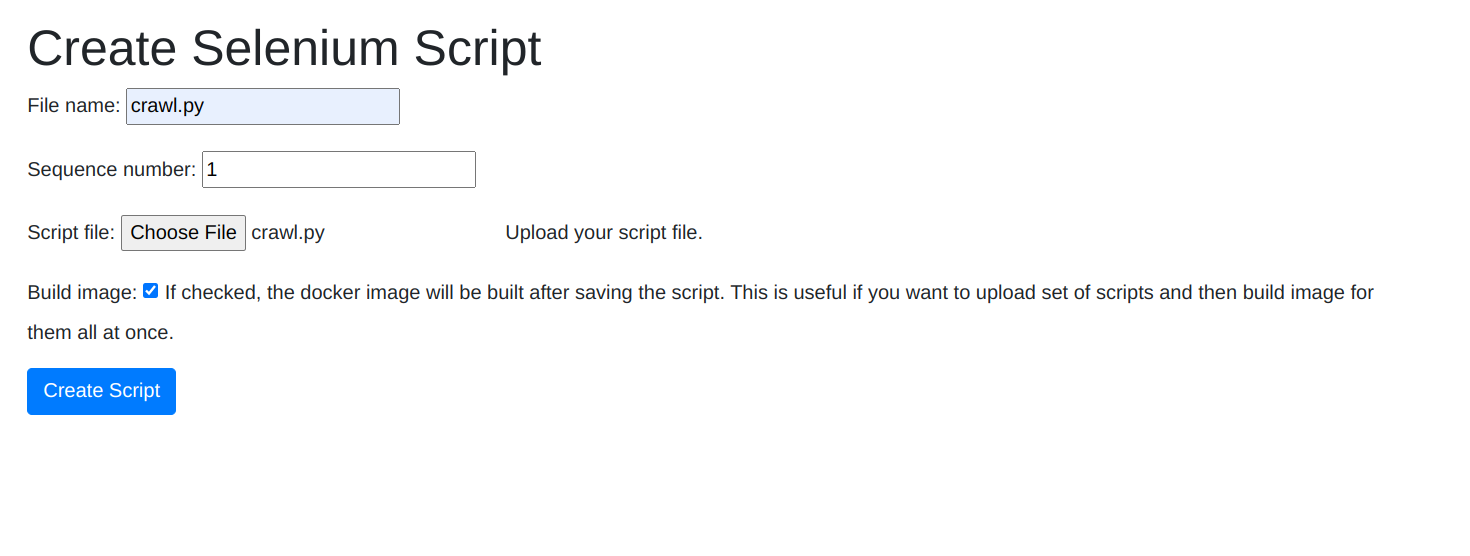
Image 3.4 – script upload page
On image 3.4 you can see script upload page with sample data. Sequence number defines when script will be executed, so if set to one, script will be executed first. Check build image button if this is the last script for this scripts group, so proper docker image will be built for this scripts group.
Use only A-Z, a-z, 0-9 and _ symbols for name, and use .py in the end.
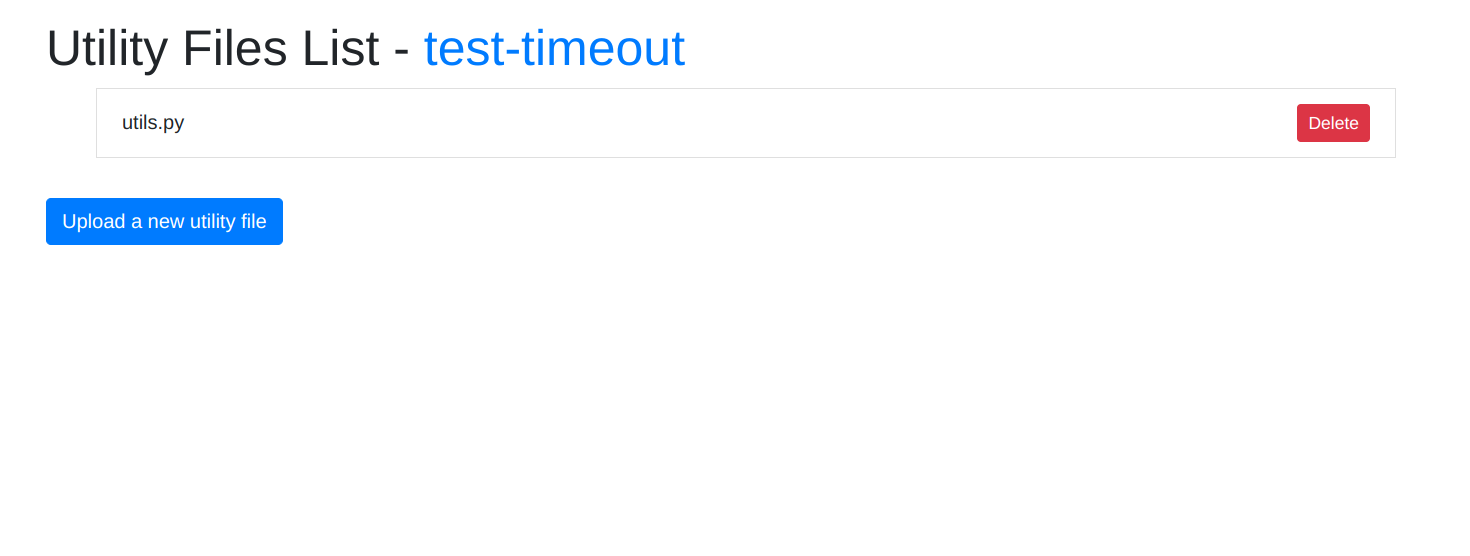
Image 3.5 – utility files list page
On image 3.5 you can see utility files list for group test-timeout. You can use blue group name to navigate back to group details page.
Under the group name there is a list of utility file names and buttons that allow you to delete them.
Use “Upload Utility File” button to upload new utility file. You can find detailed instructions below.
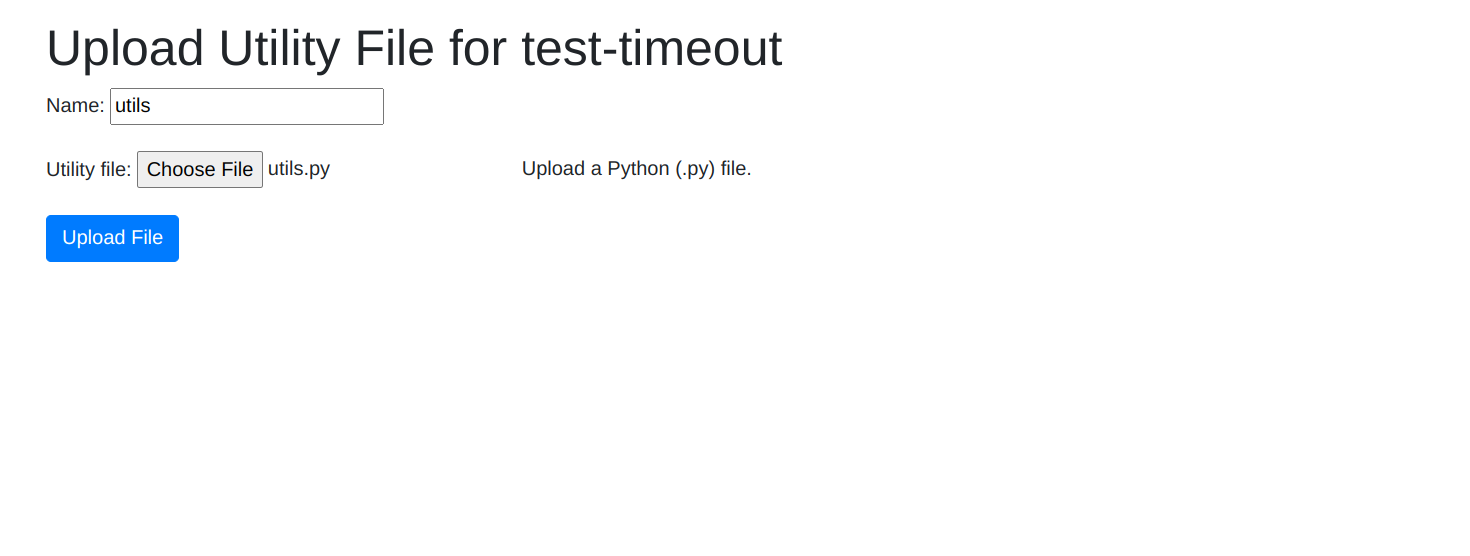
Image 3.6 – Utility file upload page
On image 3.6 you can see upload utility file page with sample data. Here applies same rules as for selenium script name, but you can forget about .py in the end, as it will be added automatically.

Image 3.7 – environment configs list
On image 3.7 you can see environment configurations list for group test-timeout. You can use blue group name to navigate back to group details page.
You can use “Create New Environment Config” button to go to create environment config page.
If you already have created env config, you will see “View Variables” and “Run Scripts with this EnvConfig” buttons. Click “Run Scripts with this EnvConfig” to queue scripts execution using selected environment configuration.
Click “View Variables” to go to environment configuration variables page.
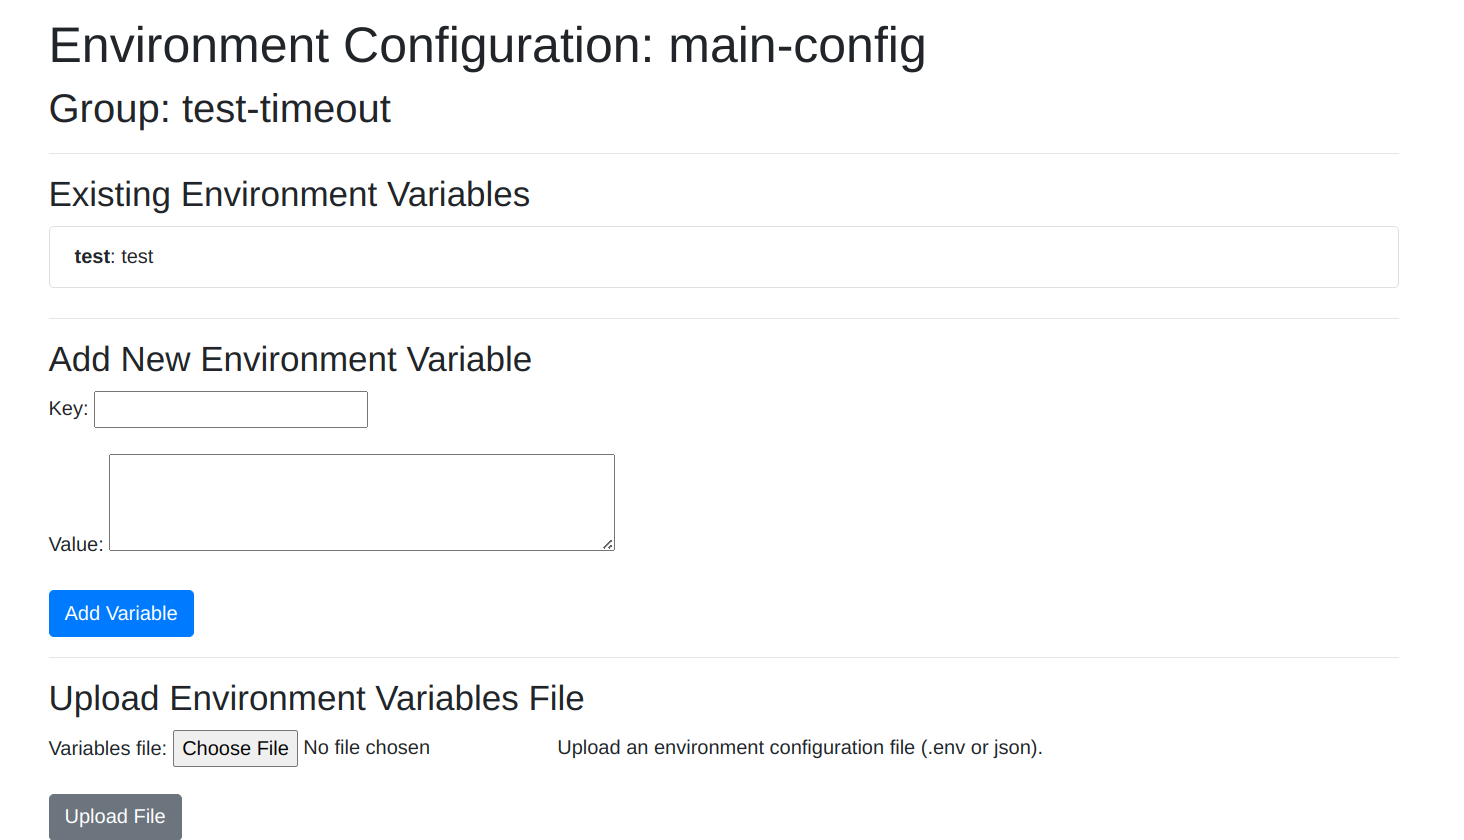
Image 3.8 – environment configuration variables page
On the environment configuration variables page, you can add variables using key and value pairs. For example, you might create a variable with the key WEBSITE_URL and a value like https://example.com/. You may also upload a file (named .env) or a JSON file with environment configuration values. For more information on environment variables, see this guide on environment variables.
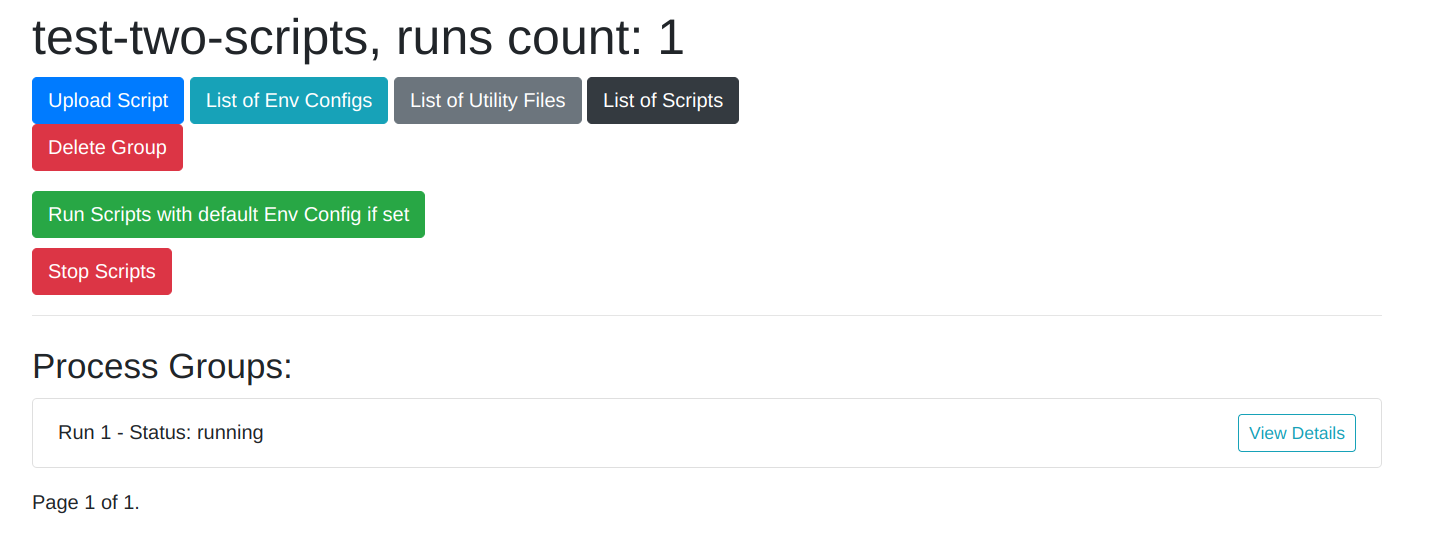
Image 3.9 – scripts group with process group
When you start scripts execution, process group object is created. For each process group you will see Run number (so if first run it will be 1), and status (pending, running, completed or error depending on scripts execution results) as you can see on image 3.9 .
If you want, you can click “View Details” button to go to process group details page.
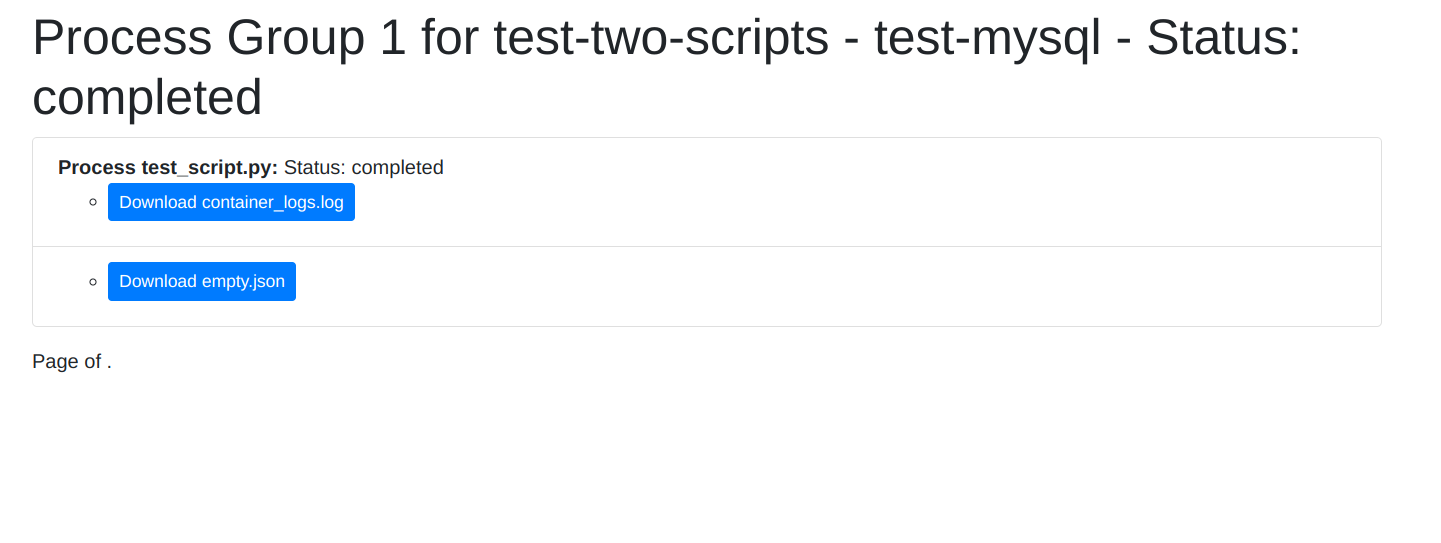
Image 3.10 – process group details page
On image 3.10 you can see process group details page. For each script that has been executed you will find “Process script_name: Status: status_value” and below will be logs file and files created by script. You can click on download button for each file.